Read Time 6 mins | Written by: Attribuly
How to Set Up Conversion Tracking on Shopify Using Facebook Ads
Introduction
In today’s digital marketplace, successfully measuring the performance of your advertising campaigns is crucial. Accurate conversion tracking allows you to allocate your budget wisely, optimize creative strategies, and gauge return on investment. With Facebook Ads playing a vital role for many Shopify merchants, ensuring precise tracking amid evolving privacy standards and iOS 14 changes can be challenging. This is where Attribuly steps in. Built specifically for Shopify store owners, Attribuly streamlines conversion tracking by delivering rich insights and actionable data to help you maximize your ad spend. In this comprehensive guide, we walk you through the step-by-step process of setting up conversion tracking via Attribuly, empowering you to refine your campaigns and boost performance. This guide equips you with the practical know-how to navigate privacy shifts and transform your ad strategy.
Creating and Installing Attribuly
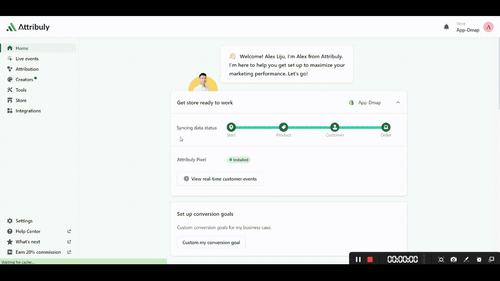
Attribuly is a powerful tool that allows Shopify store owners to track their Facebook ad campaigns' performance. With Attribuly, you can easily set up conversion tracking and get detailed insights into your ad's effectiveness. The first step in using Attribuly is to create an account and install the app on your Shopify store.
To get started, go to the Shopify App Store and search for 'Attribuly.' Click on the 'Add App' button to begin the installation process. Follow the prompts to complete the installation, and once it's done, you'll be ready to start tracking your conversions.
Once you've installed Attribuly, you'll need to connect it with your Facebook Ads account. This will allow Attribuly to collect data from your ad campaigns and provide you with detailed insights into their performance. To do this, navigate to the 'Settings' tab in Attribuly and click on 'Connect Facebook Ads Account.' Follow the prompts to connect your account, and once it's done, you'll be able to start tracking conversions.
Setting Up Conversion API
Setting up Conversion API is an important step in tracking your Facebook ad performance. With Conversion API, you can track conversions and events on your Shopify store without relying on cookies or pixels. Here's how you can set it up:
Step 1: Create a Facebook Business Manager account
To get started with Conversion API, you need to have a Facebook Business Manager account. If you don't have one already, go to the Facebook Business Manager website and click on 'Create Account'. Follow the prompts to create your account.
Step 2: Set up Conversion API
Once you have a Facebook Business Manager account, go to the Events Manager section. Click on 'Set Up' and follow the prompts to set up Conversion API. You'll need to provide some information about your business and connect your Shopify store.
During this process, you'll also need to create an access token that will allow Attribuly to access your conversion data. Make sure to copy this token as you'll need it later.
Once you've completed these steps, Conversion API will be set up for your Shopify store. You can now start tracking conversions and events on your store.
In the next section of this guide, we'll show you how to create a conversion campaign in Facebook Ads Manager so that you can start using this data to improve your ad performance.
Creating a Conversion Campaign in Facebook Ads Manager
Once you have set up Attribuly and Conversion API, the next step is to create a conversion campaign in Facebook Ads Manager. This will allow you to track the performance of your ads and optimize them for better results.
Step 1: Go to Facebook Ads Manager
To get started, log in to your Facebook Ads Manager account. Once you are logged in, click on 'Create' and select 'Campaign'. This will take you to the campaign creation page.
Step 2: Choose your campaign objective
On the campaign creation page, you will see a list of objectives that you can choose from. Select 'Conversions' as your campaign objective. This will tell Facebook that your goal is to drive conversions on your Shopify store.
Step 3: Set up your ad set and ad
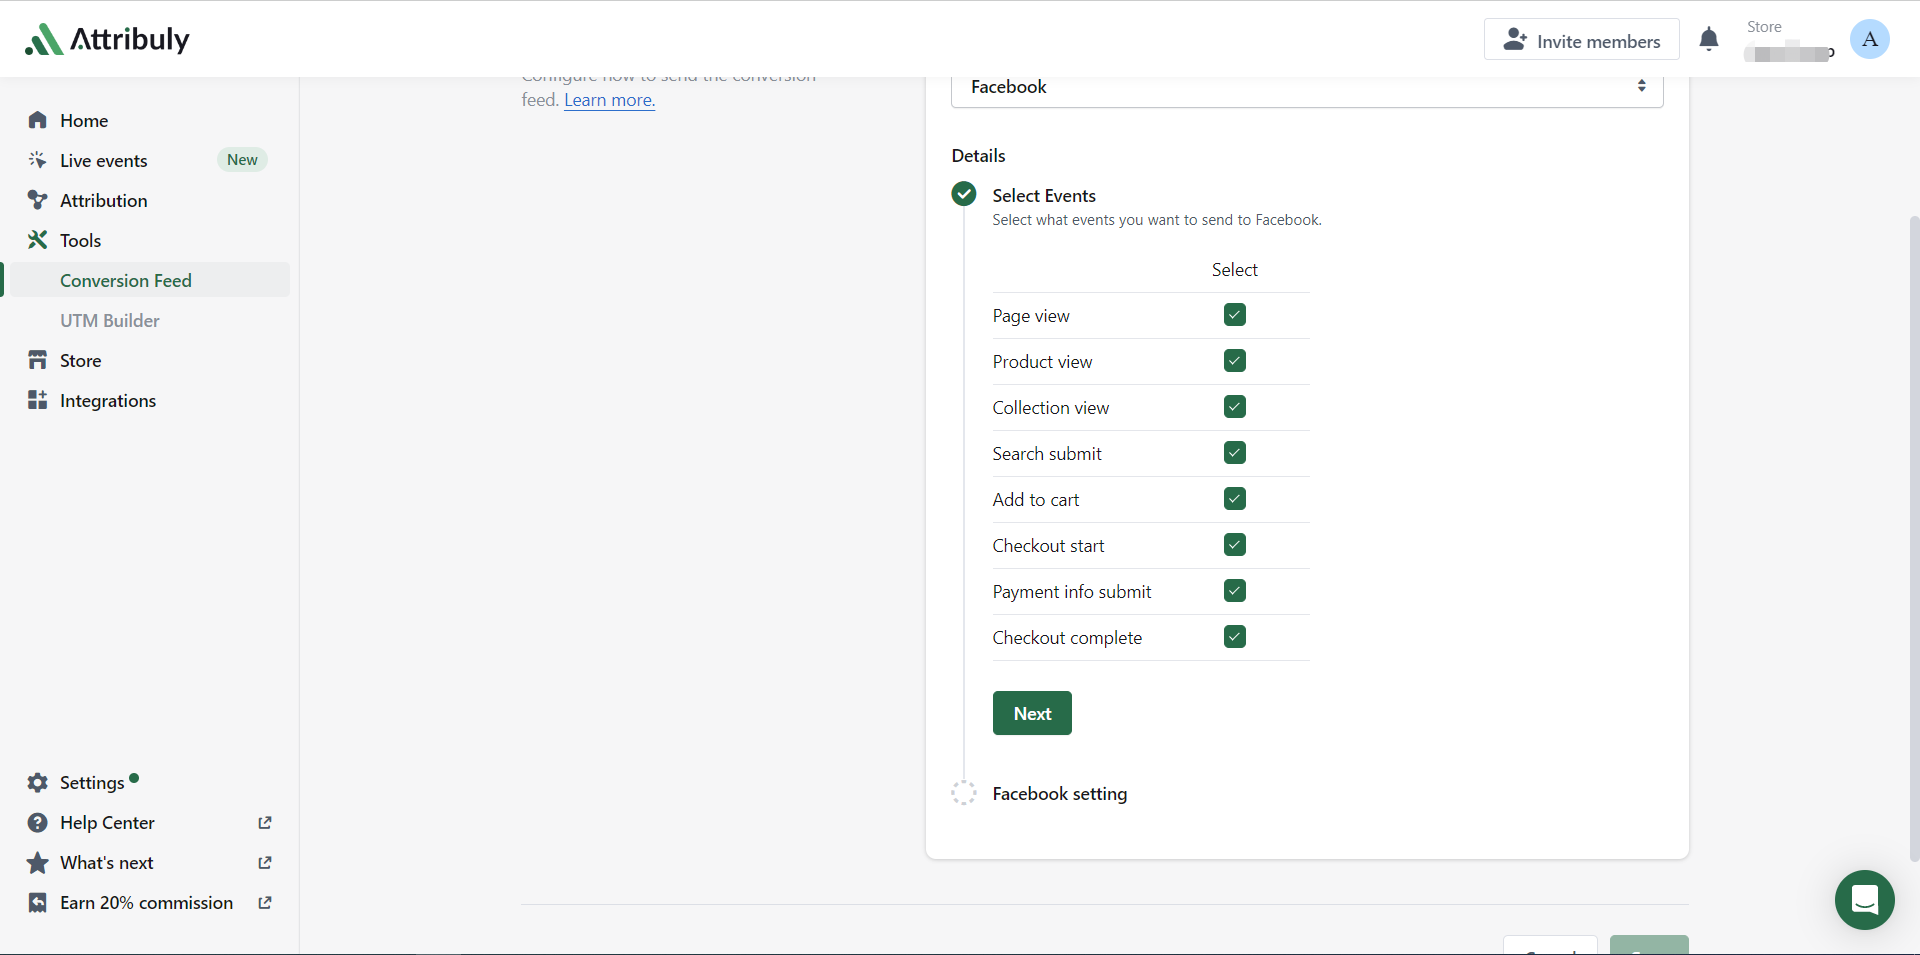
Next, follow the prompts to set up your ad set and ad. You will need to choose your target audience, budget, placement, and creative assets. Make sure that you select the correct pixel and event for tracking conversions.
Once you have created your ad set and ad, click on 'Publish'. Your conversion campaign is now live!
It's important to regularly monitor the performance of your conversion campaign and make adjustments as needed. Use Attribuly's detailed insights to identify areas for improvement and optimize your ads for better results.
By following these steps, you can easily set up conversion tracking with Shopify and Facebook Ads using Attribuly. With detailed insights into how your ads are performing, you can make data-driven decisions that improve your ROI and grow your business.
Analyzing Data, Run Automation
After setting up conversion tracking with Attribuly and Facebook Ads, it's time to analyze your data and run automation to optimize your ad performance. The first step is to go to the Attribuly dashboard and analyze your data. You can gain insights into your ad performance by looking at metrics such as ROAS, click-through rate, cost per click, and conversion rate.
Once you have analyzed your data, it's time to run automation. Attribuly's automation feature allows you to optimize your ad performance automatically. You can set up rules based on specific metrics or conditions, and Attribuly will automatically adjust your ads accordingly.
For example, if you notice that certain ads are performing better than others, you can set up a rule to allocate more budget towards those ads. Or if you notice that certain audiences are converting at a higher rate than others, you can set up a rule to target those audiences more aggressively.
By running automation with Attribuly, you can save time and improve your ad performance without having to constantly monitor and adjust your campaigns manually. With detailed insights and easy-to-use automation features, Attribuly is the perfect tool for Shopify store owners advertising on Facebook who want to take their ad performance to the next level.