We’ve released a set of improvements to make campaign management faster and Capture reporting more actionable.
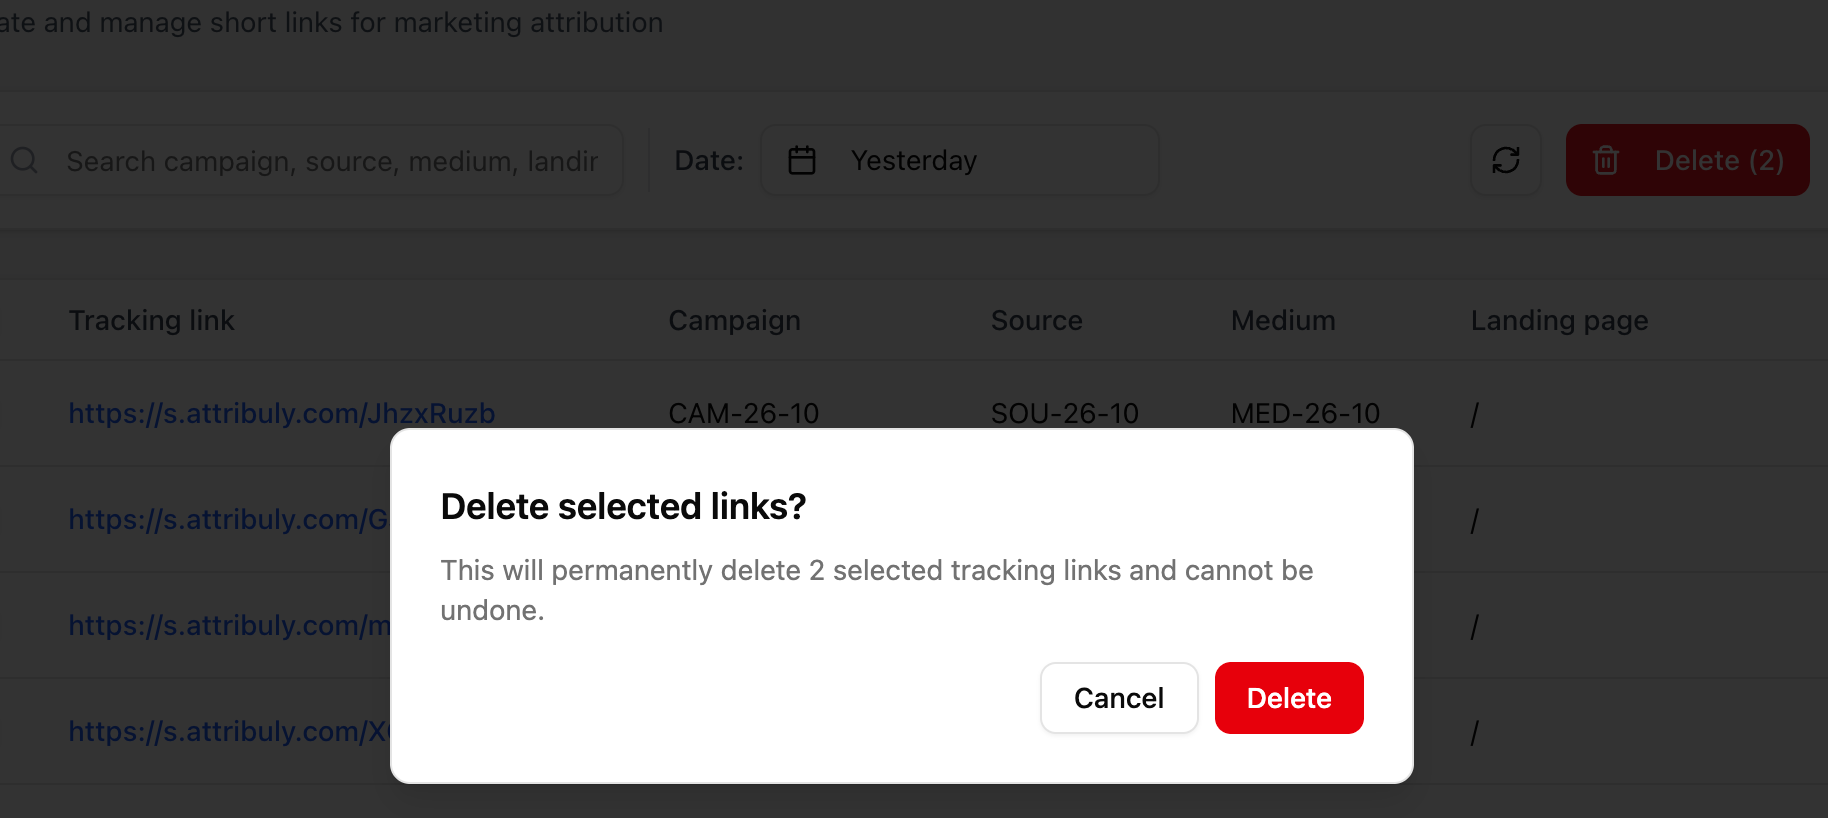
Bulk delete for Link Builder
Select and remove multiple tracking links at once to clean up outdated or duplicate links more efficiently.
Bulk delete for Influencers
You can now delete multiple influencer records in one action, making list management much faster.
Safer bulk deletion flow
Bulk delete now includes a confirmation step and live progress feedback, so users have clearer visibility during destructive actions.
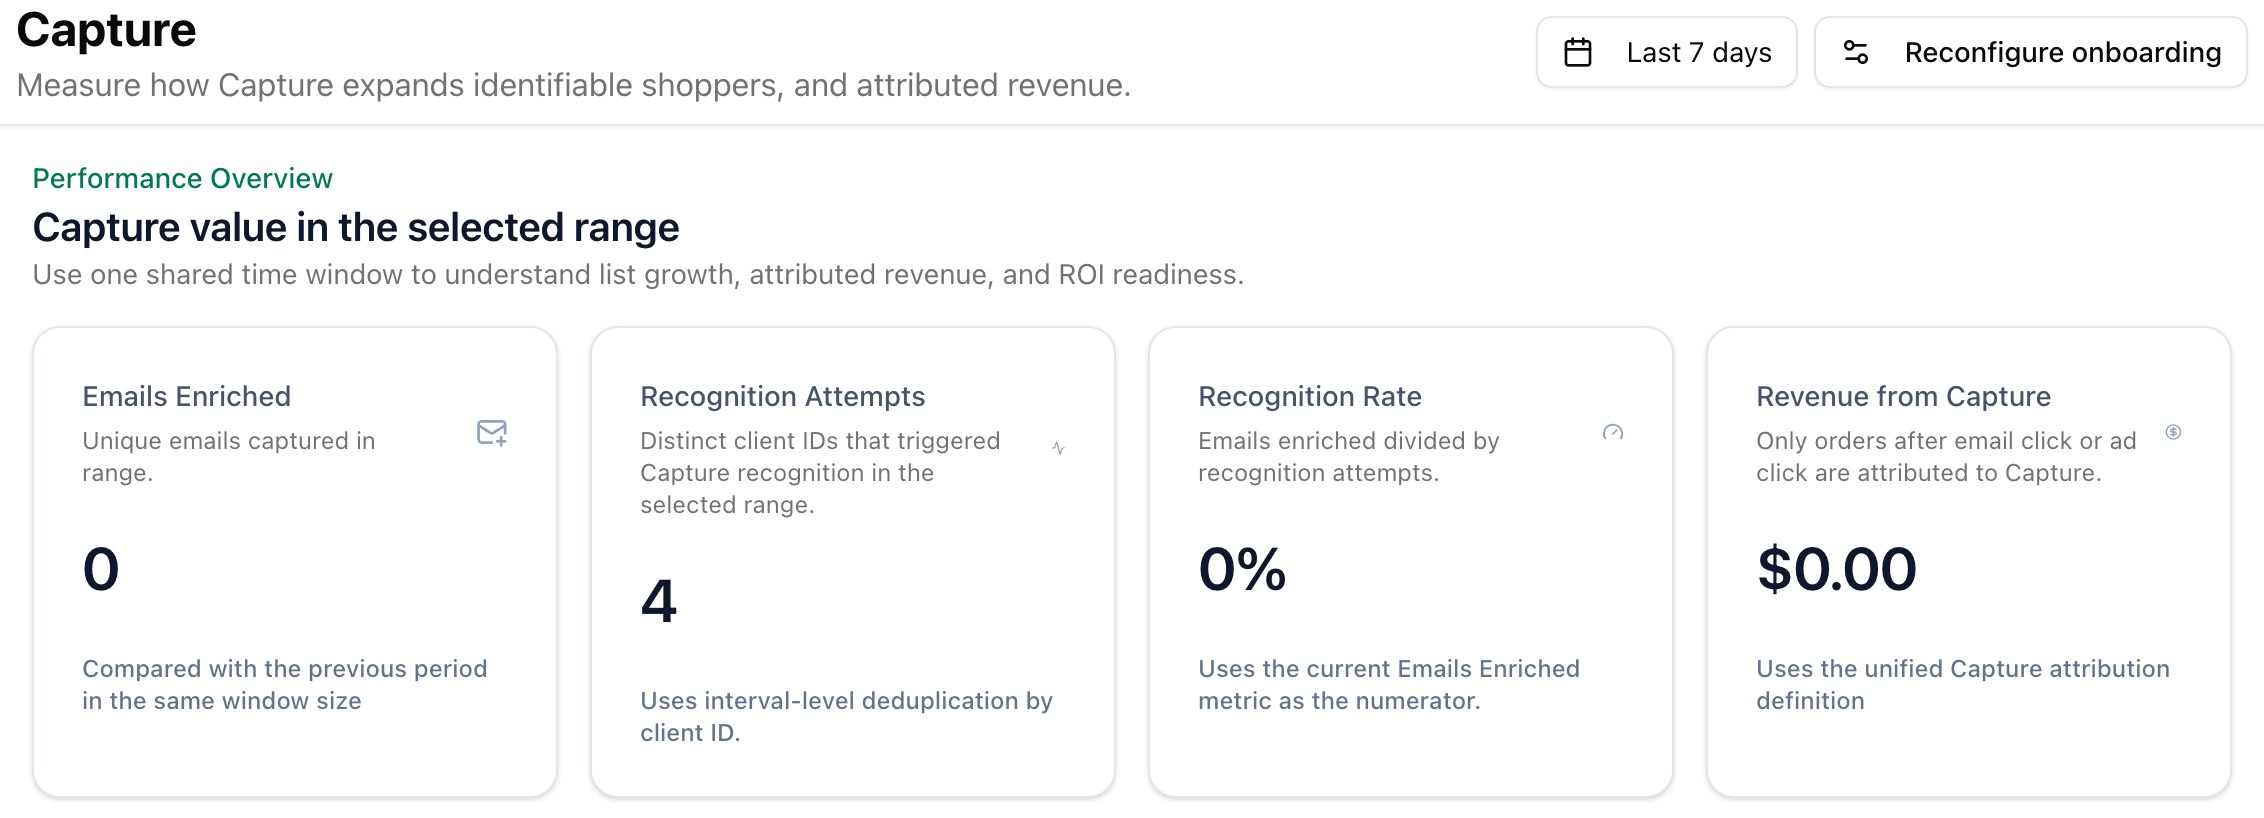
New Capture metric: Recognition Attempts
Track how many distinct client IDs triggered Capture recognition in the selected date range.
New Capture metric: Recognition Rate
Measure recognition efficiency with a new rate based on Emails Enriched / Recognition Attempts .
Impact These updates help teams reduce manual cleanup work, avoid deletion mistakes, and better understand Capture performance.
Goaffpro:Use 'utm_source=goaffpro' as the identification marker.
Uppromote:Attribuly recognizes the dedicated default tracking parameter 'sca_ref' for this tool.
ocation: Marketing Analytics → All Attribution and Marketing Analytics → Ads Attribution
What it does
Exports the attributed conversion orders behind your current report data. The result is sent to your account email address as a CSV file. This lets you analyze the individual orders that make up your attribution numbers, broken down by your chosen dimensions.
How to use — All Channels page
Navigate to Marketing Analytics → All Attribution.
Apply your desired Date Range, Goal, Attribution Model, Dimension filters (e.g., Channel, Campaign, Source, Medium, Landing Page), and any other filters.
Click the Export Orders button next to the existing Export button.
A confirmation dialog will appear showing the email address where the file will be sent.
Click Confirm to submit the export request.
You will receive an email with the CSV file once it is ready.
The CSV includes dimension columns matching your selected filters, followed by:
Order Name — Order name from the store
Order ID — Unique order identifier
Conversion Time — Order time in your store's timezone
Conversion Value — Order revenue
Conversions — Attributed conversion count
New Customer — Whether the customer is new
Email — Customer email address
How to use — Ads page
Navigate to Marketing Analytics → Ads Attribution.
Select the tab you want to export: Platform, Campaign, Ad Set, or Ad.
Apply your desired filters (Date Range, Goal, Attribution Model, etc.).
Click the Export Orders button next to the existing Export button.
A confirmation dialog will appear showing the email address where the file will be sent.
Click Confirm to submit the export request.
You will receive an email with the CSV file once it is ready.
The dimension columns included in the CSV depend on the active tab:
Platform tab — Platform
Campaign tab — Platform, Ad Account, Campaign
Ad Set tab — Platform, Ad Account, Campaign, Ad Set
Ad tab — Platform, Ad Account, Campaign, Ad Set, Ad
Followed by the same fixed order columns: Order Name, Order ID, Conversion Time, Conversion Value, Conversions, New Customer, Email.
Note: Conversion Time is displayed in your store's local timezone. Up to 10,000 orders can be exported per request.