
Klaviyo Identity Resolution: How to Match Anonymous Shoppers to Email Profiles
Step-by-step guide to enable Klaviyo identity resolution, use _kx and __kla_id, enable anonymous backfill, and match anonymous shoppers to email profiles.
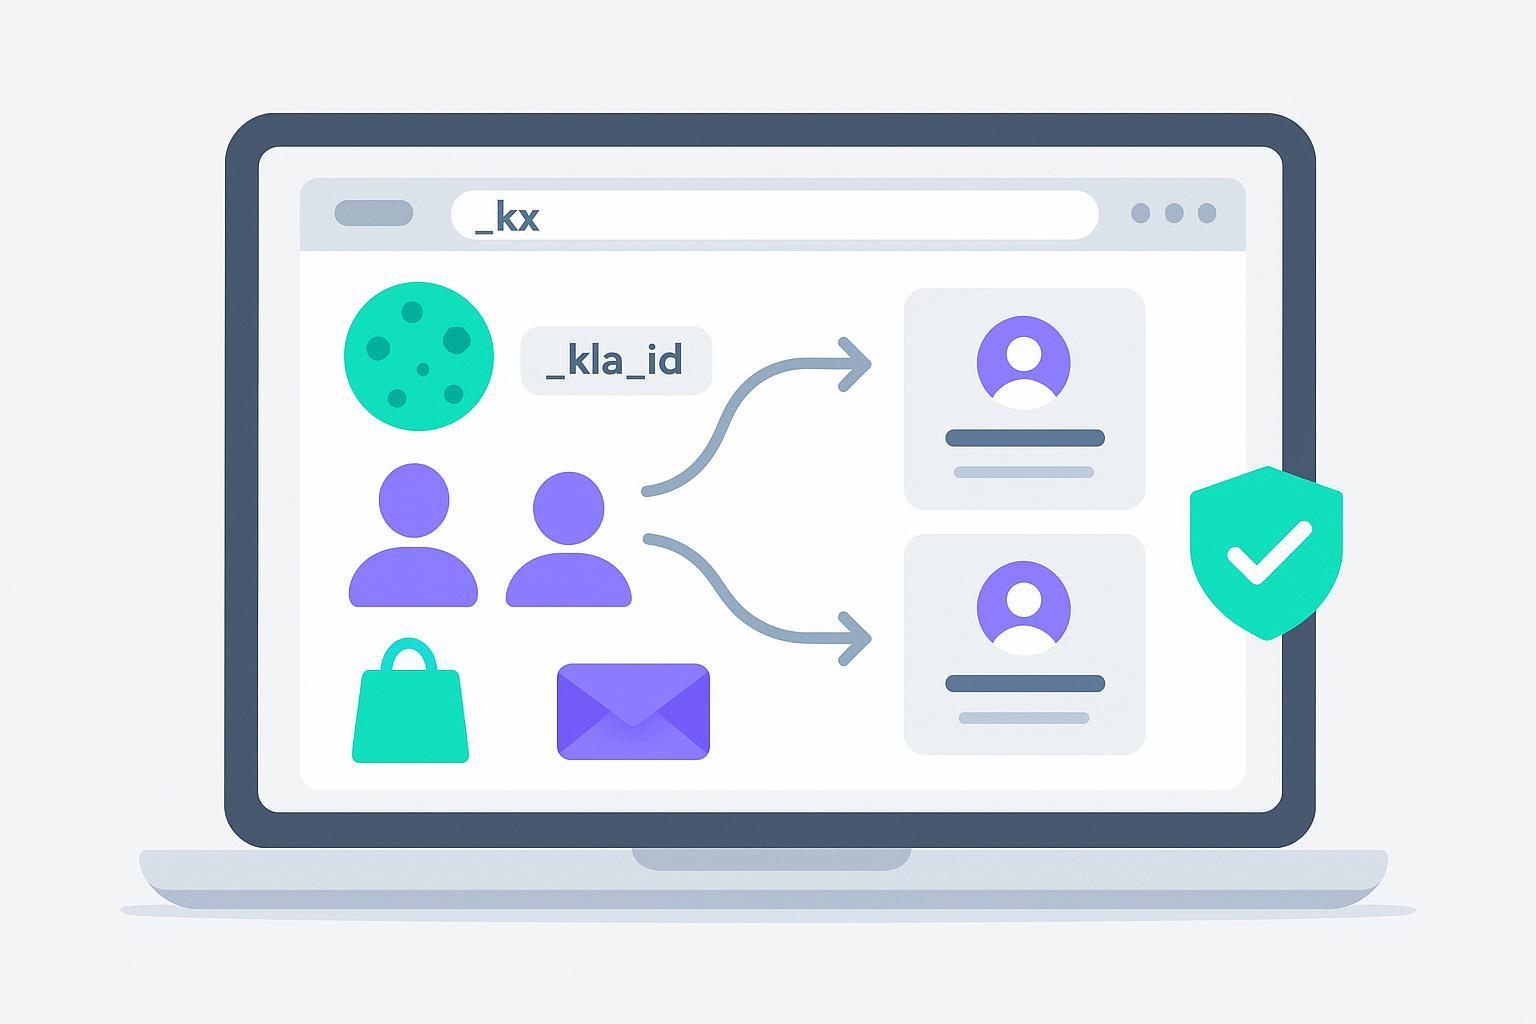
Most ecommerce sites have the same headache: lots of traffic, not enough identified visitors. If Klaviyo shows a sea of “anonymous” activity, your browse/cart flows underfire, attribution gets fuzzy, and paid media looks worse than it is. This guide explains how Klaviyo identity resolution works and walks you through a privacy-first setup that connects more sessions to real email profiles—then shows you how to test and troubleshoot it.
Key takeaways
Identity in Klaviyo relies on deterministic signals (email, phone) plus onsite identifiers (e.g., the _kx parameter and the __kla_id cookie).
Turn on Email-to-Website tracking and anonymous visitor activity backfill so pre-identification browsing can later attach to a known profile.
Gate klaviyo.js behind your consent management platform (CMP) and store consent on the profile—no tracking before opt-in in regulated regions.
For Shopify headless or custom checkouts, reinforce identity with server-side events and stable identifiers.
Validate with a repeatable QA checklist: confirm _kx on landing, __kla_id is set, events arrive, and backfill attaches correctly.
Quick-start checklist
Enable Email-to-Website tracking so Klaviyo appends “_kx” to email links. Difficulty: Beginner. Time: 10–15 min.
Ensure onsite tracking (klaviyo.js or app embed) is active and firing “Active on Site.” Difficulty: Beginner. Time: 10–20 min.
Turn on anonymous visitor activity backfill in Identity settings. Difficulty: Beginner. Time: 5 min.
Add a CMP and block klaviyo.js until marketing consent; record consent on profiles. Difficulty: Intermediate. Time: 30–60 min.
For headless/custom flows, send critical events (Viewed Product, Added to Cart, Started/Placed Order) via API with stable identifiers. Difficulty: Advanced. Time: 0.5–2 days.
Run the QA matrix below to confirm end-to-end behavior. Difficulty: Intermediate. Time: 30–60 min.
How Klaviyo identity resolution actually works
Klaviyo builds a customer profile and links onsite behavior through a few key identifiers:
The _kx parameter: When Email-to-Website tracking is enabled, Klaviyo adds an encrypted “_kx” parameter to links in emails. On landing, klaviyo.js uses that token to identify the visitor and associate browsing with their profile. See Klaviyo’s explanations of the parameter and settings in their community and help resources: according to Klaviyo staff, the _kx carries identification data for clickthrough recognition; learn more in the community overview of the parameter and how to toggle it in account tracking settings in “What is the &_kx string…”.
The __kla_id cookie: Klaviyo’s onsite script sets a persistent visitor cookie scoped to your domain. It supports behavioral metrics like “Active on Site.” Cookie lifetimes can be limited by Safari’s Intelligent Tracking Prevention. See the official help on cookies in “Understanding cookies in Klaviyo.”
Storage nuances and Safari ITP: Expect shorter recognition windows on Safari/iOS; Klaviyo has discussed Extended ID and Shopify pixel sync as conceptual mitigations. See Klaviyo’s blog note on Extended ID and Shopify pixel sync.
Anonymous visitor activity backfill: When enabled, Klaviyo captures onsite activity for anonymous visitors and later attaches it to the profile once the visitor identifies (via _kx click, form submit, or identify call). This enriches journey views and powers browse/cart flows once the profile exists. See Klaviyo’s identity resolution and backfill guidance in “Understanding identity resolution in Klaviyo.”
Authoritative references (one link each to control density):
Cookies and storage: “Understanding cookies in Klaviyo” (Help, 2024+).
Identity and backfill: “Understanding identity resolution in Klaviyo” (Help).
_kx behavior/setting: “What is the &_kx string…” (Klaviyo Community).
Extended ID concept: “Extended ID and Shopify pixel sync” (Klaviyo blog).
Step-by-step setup (Shopify-first, headless-aware)
Enable Email-to-Website tracking (adds _kx)
In Klaviyo, turn on Email-to-Website tracking so campaign links include _kx. Send yourself a test campaign and confirm _kx appears in the landing URL. If you must remove it for a specific edge case (e.g., certain anchor links), Klaviyo allows disabling this at the account level.
Reference: Klaviyo Community guidance on the _kx parameter.
Ensure onsite tracking is active
For standard Shopify, enable the Klaviyo app embed and verify “Active on Site” events in Analytics > Metrics.
For non-Shopify or custom themes, load klaviyo.js with your public API key and verify network calls to static.klaviyo.com.
Reference: Klaviyo’s “Getting started with onsite tracking.”
Turn on Anonymous visitor activity backfill
In Identity settings, enable backfill. Then test an anonymous browse → identify flow to confirm earlier pageviews appear under the new profile.
Reference: Klaviyo Help “Understanding identity resolution in Klaviyo.”
Confirm key behavior events fire
On Shopify, ensure Viewed Product and Added to Cart are configured. Klaviyo has an automatic Added to Cart via Shopify’s server pixel you can enable in the Shopify integration settings.
On custom storefronts, fire events explicitly via client or server APIs (see code below).
References: Klaviyo Help for Shopify setup and “Migrate to automatic Added to Cart.”
Use identify/track calls where needed (custom or headless)
Example identify (client-side) with public key:
<script>
    // Only run after consent (see CMP section)
    window.klaviyo = window.klaviyo || [];
    klaviyo.push(['identify', {
      $email: 'test@example.com',
      $first_name: 'Test',
      $last_name: 'User'
    }]);
  </script>
Server-side Create Event example (never expose private keys in the browser):
curl -X POST https://a.klaviyo.com/api/events/ \
    -H 'Authorization: Klaviyo-API-Key YOUR_PRIVATE_KEY' \
    -H 'revision: 2024-10-15' \
    -H 'Content-Type: application/json' \
    -d '{
      "data": {
        "type": "event",
        "attributes": {
          "metric": {"name": "Viewed Product"},
          "properties": {"product_id": "123", "title": "Example"},
          "profile": {"email": "test@example.com"},
          "time": "2026-05-04T12:00:00Z",
          "unique_id": "vp_123_test_20260504"
        }
      }
    }'
References: Klaviyo Developers “Create Event,” “Profiles API,” and custom integration FAQs.
Consent and CMP gating (with code)
Here’s the deal: if you track before consent in regulated regions, you’ll create compliance risk and taint data. Gate klaviyo.js until the user opts in and then record that consent on their profile.
Pattern: load your CMP first; block static.klaviyo.com until the user accepts “marketing.” After consent, load klaviyo.js and run identify/track calls.
Storing consent: when a user opts in, set $consent (e.g., ["email","sms"]) and a timestamp on the profile via form submission or an API call. See Klaviyo’s GDPR consent collection help.
Example (Cookiebot-style pattern):
<!-- CMP loads first and defines a callback once marketing consent is granted -->
  <script>
    function initKlaviyo() {
      var s = document.createElement('script');
      s.src = 'https://static.klaviyo.com/onsite/js/klaviyo.js?company_id=PUBLIC_KEY';
      s.async = true;
      document.head.appendChild(s);
    }

    // Pseudo-CMP callback once user grants marketing consent
    window.onMarketingConsent = function(consentMeta) {
      initKlaviyo();
      // Optionally, persist consent on profile server-side
      fetch('/consent/klaviyo', {
        method: 'POST',
        headers: {'Content-Type': 'application/json'},
        body: JSON.stringify({
          email: consentMeta.email,
          consent: ['email'],
          consent_time: new Date().toISOString()
        })
      });
    };
  </script>
References: Klaviyo “Understanding cookies in Klaviyo” (blocking until consent), and “How to collect GDPR-compliant consent.” If your organization honors Global Privacy Control (GPC), treat it as an opt-out and avoid initializing tracking for those sessions per your legal guidance.
Headless and custom checkout caveats
Headless frontends and off-domain checkouts often break assumptions baked into app-embed tracking.
What breaks: cookies scoped to one subdomain don’t flow to another; _kx may be lost on redirects; the storefront can’t read cookies on a separate checkout domain.
Fixes:
Pass stable identifiers (email/phone) via secure server-side calls when events cross domains.
Use Shopify Web Pixels or server-side APIs to send Started/Placed Order with email.
Consider Klaviyo’s Extended ID concepts and Shopify pixel sync to improve recognition (within consent bounds).
Minimal server-side identify example (Node/Express):
import express from 'express';
  import fetch from 'node-fetch';
  const app = express();
  app.use(express.json());

  app.post('/klaviyo/identify', async (req, res) => {
    const { email, traits } = req.body;
    const payload = {
      data: {
        type: 'profile',
        attributes: { email, ...traits }
      }
    };
    const r = await fetch('https://a.klaviyo.com/api/profiles/', {
      method: 'POST',
      headers: {
        'Authorization': 'Klaviyo-API-Key ' + process.env.KLAVIYO_PRIVATE_KEY,
        'revision': '2024-10-15',
        'Content-Type': 'application/json'
      },
      body: JSON.stringify(payload)
    });
    res.status(r.ok ? 200 : 500).send();
  });
References: Klaviyo Developers “Profiles API,” custom integration FAQs, and Extended ID blog note.
Verification and QA matrix
Run these checks every time you change tracking or consent settings.
URL parameter check (email clickthrough)
Send a test email to yourself. Click a link. Confirm the landing URL contains “_kx=”. If it’s missing, confirm Email-to-Website tracking is enabled.
Reference: Klaviyo Community “What is the &_kx string…”.
Cookie/storage check
In DevTools > Application > Cookies, look for “__kla_id” on your domain. Expect shorter expiries on Safari due to ITP.
Reference: Klaviyo Help “Understanding cookies in Klaviyo.”
Event check
In Klaviyo Analytics > Metrics, confirm “Active on Site,” “Viewed Product,” “Added to Cart,” and Shopify order events are present during your test window.
References: Shopify integration docs and data reference.
Backfill test
Browse a few PDPs anonymously. Then submit a form with your email or click an email containing _kx. Reopen the profile and confirm earlier browsing attached.
Reference: Help “Understanding identity resolution in Klaviyo.”
Consent test
With consent not given, verify klaviyo.js doesn’t load or send events. After granting marketing consent, verify the script loads and events begin. Confirm the profile shows $consent and a timestamp.
References: Cookies/consent help articles.
Handy console snippets:
// Check if the Klaviyo queue is present (post-consent)
  window.klaviyo

  // Inspect session/local storage hints (implementation may vary by version)
  Object.keys(window.sessionStorage).filter(k => k.toLowerCase().includes('klaviyo'))

  // Verify Added to Cart network calls (filter in DevTools > Network for `collect` or `klaviyo`)
Troubleshooting playbook
_kx missing on landing: Ensure Email-to-Website tracking is enabled; check if your link shortener or redirector strips parameters; send a Klaviyo test email, not a pasted URL.
Source: Klaviyo Community guidance on _kx behavior.__kla_id not set or not persisting: Confirm your CMP isn’t blocking static.klaviyo.com pre-consent; check domain/subdomain scope; on Safari, expect aggressive expiry and consider server-side reinforcement.
Source: Klaviyo cookies help.No “Active on Site” or “Viewed Product”: Verify the app embed/snippet is present; on headless, ensure you’re firing events via API.
Sources: Onsite tracking primer and Developers “Create Event.”Backfill not attaching: Make sure backfill is enabled and identification actually occurred; confirm the browser didn’t clear storage between anonymous browse and identification.
Source: Identity resolution help.Duplicates or risky merges: Preview identity transformations; avoid manual merges unless audited; merges are permanent.
Source: Identity transformations help.Pre-consent tracking: Your CMP must load first and gate Klaviyo; test GPC/Do-Not-Sell signals per your legal guidance.
Source: Cookies/consent help and compliance guidance.
Practical example — privacy-first enrichment feeding Klaviyo (neutral)
When identity rates remain low due to ITP, blockers, or headless architecture, you can use a privacy-respecting enrichment tool to recognize more high-intent visitors and sync compliant identifiers into Klaviyo for browse/cart flows. For example, Attribuly documents a Klaviyo integration oriented toward identifying visitors and passing server-side events into Klaviyo. See the integration overview at Attribuly. Use such tools only where they add operational value and align with your consent model.
Monitor and iterate
Identity rate (directional): compare identified “Viewed Product” events to total sessions from your web analytics tool.
Flow coverage: track triggered Browse/Cart Abandon flows versus total PDP views week over week.
Merge stability: review identity transformation previews and maintain a changelog; merges can’t be undone.
Compliance: segment by $consent presence and timestamps; verify suppression where required.
Governance: use Klaviyo’s Data Privacy API for deletion/access requests and keep API scopes locked down.
References (authoritative, one-time each to limit density):
Identity resolution and backfill: Klaviyo Help “Understanding identity resolution in Klaviyo.”
Cookies & ITP: Klaviyo Help “Understanding cookies in Klaviyo.”
Shopify setup and data reference: Klaviyo Help “Getting started with Shopify” and “Shopify data reference.”
Automatic Added to Cart: Klaviyo Help “Migrate to automatic Added to Cart.”
APIs: Developers “Create Event,” “Profiles API,” and “Custom integration FAQs.”
Consent: Help “How to collect GDPR-compliant consent.”
If you’d like to go deeper on recognizing high-intent visitors in a compliant way, consider evaluating an identity enrichment workflow alongside your Klaviyo setup; a starting point is the Klaviyo integration overview on the Attribuly site.